
Why Caulk Fails-and the Right Way to Reapply It

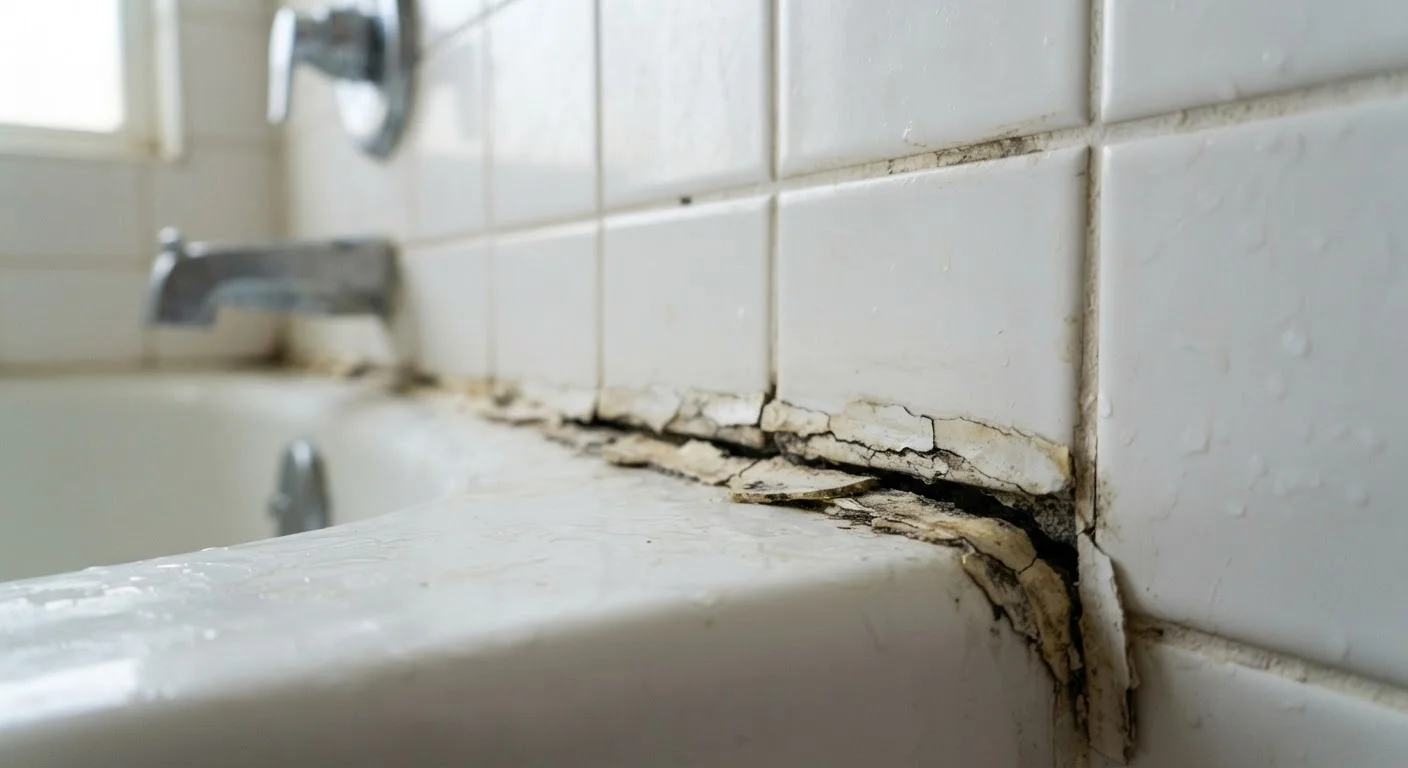
Photo: AscendWit.com | Explore Engaging Blogs. editorial
Key Takeaways
- Old caulk must be fully removed before reapplying - layering over it almost always fails.
- Choosing the wrong caulk type for the location is a leading cause of premature failure.
- Surfaces must be completely dry and clean before new caulk is applied.
- Most caulk around wet areas should be inspected and replaced every 5-10 years.
- Skipping painter's tape leads to uneven beads that look messy and seal poorly.
Why Caulk Matters More Than You Think
Caulk is the flexible sealant that bridges the gap between two surfaces - think the joint between a bathtub and tile wall, a window frame and exterior siding, or a door threshold and the floor. Its job is to block water, air, and pests from slipping through those gaps.
When caulk fails, the consequences go beyond cosmetics. Moisture can enter wall cavities, leading to mold, rot, and structural damage. Air leaks around windows and doors quietly raise heating and cooling bills. If you've noticed staining, drafts, or musty odors near these joints, failing caulk is often a contributing factor - and it's worth checking your early signs of water damage guide to assess the full picture.
The good news: recaulking is one of the most accessible home maintenance tasks. The tools are inexpensive, no special licenses are required, and a careful DIY application can last years. The bad news: several common mistakes cause new caulk to fail almost as quickly as the old batch. Here's what to avoid.
Applying new caulk directly over old, deteriorating caulk.
Using the wrong type of caulk for the location.
Caulking over a damp or contaminated surface.
Skipping painter's tape and producing an uneven bead.
Not allowing adequate cure time before exposing the joint to water.
How to Reapply Caulk the Right Way
Once you understand what causes failure, the correct process is straightforward. Follow these steps for a clean, durable result.
Step 1: Remove All Old Caulk
Use a plastic or metal caulk-removal tool to scrape away the old material. A utility knife works for tight corners. Take your time - any remaining residue will prevent the new bead from bonding properly. For stubborn caulk, a commercial caulk remover (a gel softener) can help loosen it without gouging the surface.
Step 2: Clean and Dry the Surface
Wipe the joint with isopropyl alcohol or a mildew-killing cleaner, then allow it to dry completely. In bathrooms, this may mean waiting 24 hours after the last shower. Even slight moisture beneath the new bead is enough to cause adhesion failure.
Never Caulk Over Mold or Mildew
Step 3: Select the Right Caulk
For wet areas like tubs and sinks, use a silicone or siliconized latex caulk rated for bathrooms - it resists mold and stays flexible through repeated thermal expansion. For exterior windows and doors, an exterior-grade paintable latex or polyurethane caulk is appropriate. Read the label: it should explicitly list the intended application.
Step 4: Apply with Tape and a Steady Hand
Run painter's tape along both sides of the joint before applying. Cut the caulk tube nozzle at a 45-degree angle to match the joint width, then apply in one smooth, continuous pass. Immediately wet your fingertip or use a caulk tool to press and shape the bead. Remove the tape while the caulk is still wet.
Step 5: Allow Full Cure Time
Most silicone caulks take 24 hours to skin over but can require 48-72 hours for full cure. Latex-based caulks generally cure faster. Avoid exposing the joint to water until curing is complete - check the product label for the specific timeframe.
For related wet-area sealing tasks, see our guide on keeping tile and grout watertight. And if you're assessing your home's broader moisture defenses, our gutter maintenance guide is a natural next step.
The content on this site is for informational purposes only and is not a substitute for professional advice. Always consult a qualified professional for guidance specific to your situation.