
Grout, Tile, and Sealant: Keeping Wet Areas of Your Home Watertight

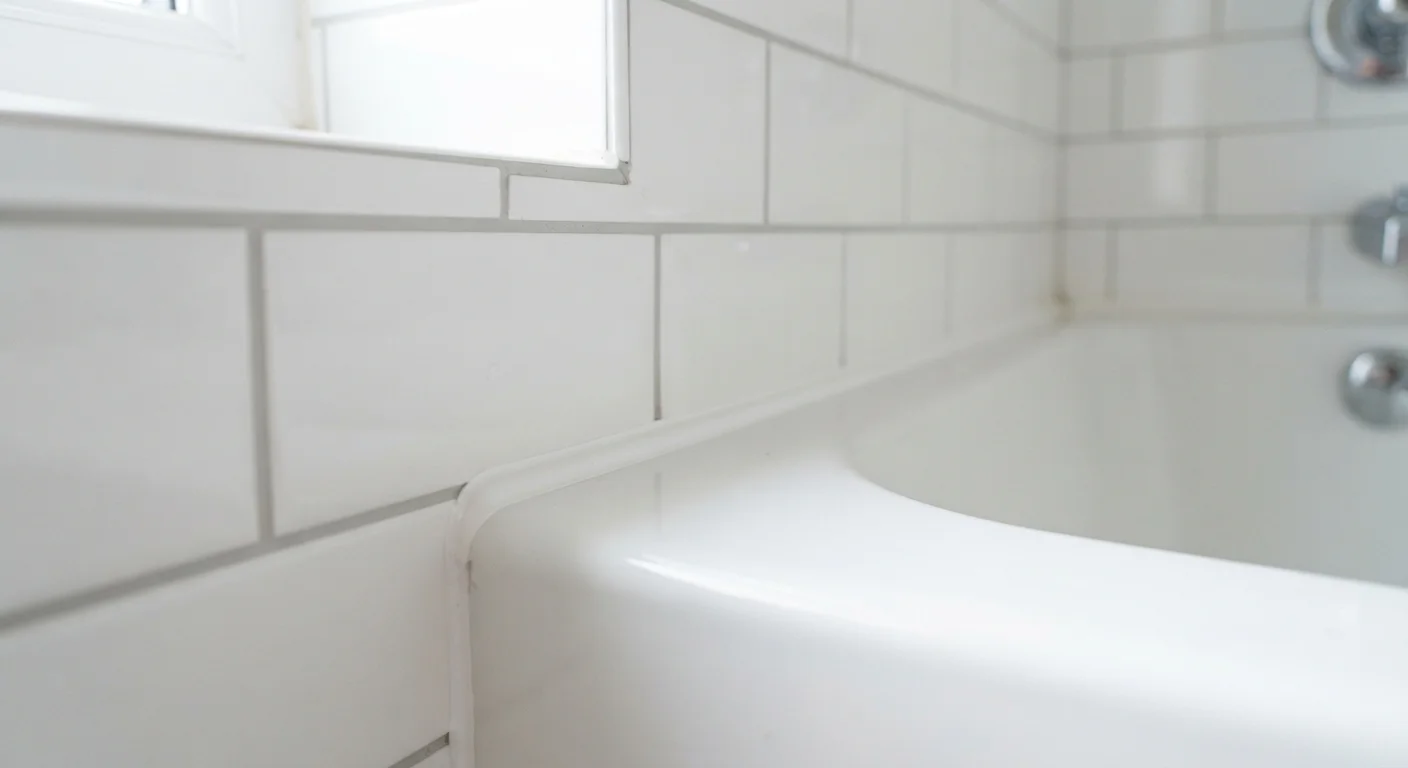
Photo: AscendWit.com | Explore Engaging Blogs. editorial
Key Takeaways
- Cracked or discolored grout allows water to penetrate walls and subfloors, leading to costly damage.
- Sealant and grout are different materials serving different roles - knowing which to use matters.
- A basic visual inspection twice a year can catch problems before they become expensive repairs.
- Regrouting and resealing wet areas is manageable DIY work for most homeowners and renters.
- Mold in grout lines is a surface issue if caught early, but ignored moisture can reach structural layers.
Why Wet Areas Demand Regular Attention
Bathrooms and kitchen areas experience daily cycles of moisture, temperature change, and physical wear. Over time, the grout and sealant that protect your walls and floors from water infiltration gradually degrade - even when they look fine from a distance. When they fail, water finds its way behind tiles and into subfloor or wall materials, where it can cause mold growth, rot, and structural damage that is far more costly to fix than the original surface maintenance would have been.
Understanding the difference between grout and sealant is the first step. Grout is the rigid filler between tiles - it holds them in uniform position and blocks debris. Sealant (often silicone or latex caulk) is used at flexible joints where two surfaces meet at corners or transitions, such as where a tiled wall meets a bathtub rim. Because these joints flex slightly as materials expand and contract, sealant is used instead of rigid grout. For a deeper look at sealant-specific issues, see our guide to why caulk fails and how to reapply it.
Both materials have a limited service life. Catching problems early - before water gets behind the tile - is the goal of any good maintenance routine. If you've noticed stains, odors, or surface changes nearby, our guide to spotting water damage early can help you assess whether deeper damage has already occurred.
Moisture Behind Tiles Is a Serious Problem
What You'll Need Before You Start
Gathering your materials before you begin prevents mid-project interruptions and ensures you have everything on hand during time-sensitive steps like grout application. The tools below cover both grout repair and sealant replacement - two jobs that are worth doing together if your wet areas are due for a general refresh.
Grout saw or oscillating multi-tool
Removes old, damaged grout cleanly without chipping surrounding tiles.
Grout float
Spreads and presses new grout evenly into tile joints.
Grout sealer
Protects cured grout from water infiltration and staining.
Utility knife
Cuts away old sealant or caulk along tub and shower edges.
Sponge and bucket
Used to wipe away grout haze from tile surfaces during installation.
Mold-resistant bathroom caulk
Seals flexible joints where tile meets the tub, floor, or fixtures.
Grout haze remover
Cleans residual film from tile faces after grouting without damaging finish.
What you will need
Test Your Grout Seal Annually
Step-by-Step: Inspect, Regrout, and Reseal
Work through these steps in order. Skipping inspection or jumping past cure times are the most common mistakes that cause repairs to fail prematurely. If the inspection step reveals more damage than expected, pause and reassess before continuing.
Inspect all wet area surfaces closely
Start at the shower or tub surround, then check around the sink, backsplash, and any tiled floor. Look for grout that is cracked, crumbling, missing in sections, or has turned dark and discolored. Run a finger along the joint lines - sound grout feels firm and solid. Press lightly on tiles: any movement or hollow sound suggests water may already be behind them.
Remove damaged or deteriorated grout
Use a grout saw or oscillating multi-tool fitted with a grout removal blade to carefully rake out failing grout to a depth of roughly 1/8 inch. Work slowly along the joint lines, keeping the tool centered to avoid nicking tile edges. Vacuum or brush out all loose debris before moving on.
Mix and apply fresh grout
Follow the manufacturer's mixing instructions precisely - grout consistency matters for adhesion and durability. Using a grout float held at a 45-degree angle, press the grout firmly into the joints, working diagonally across the tile surface to pack the material fully. Remove excess grout from tile faces with a lightly dampened sponge before it sets.
Allow grout to cure fully
Most standard grouts need at least 24 hours before light use and 48-72 hours before heavy exposure to water. Check the product instructions for the specific curing window. Avoid cleaning the area with harsh chemicals during this period, and keep the surface as dry as possible.
Apply grout sealer
Once the grout is fully cured, apply a penetrating grout sealer according to the product directions - typically by brushing or rolling it along the grout lines, then wiping away any excess from the tile surface within a few minutes. Allow the sealer to dry completely. In high-use showers, plan to reseal once a year.
Reseal flexible joints with fresh caulk
The joint where tile meets the bathtub, shower pan, or floor is a flexible connection - grout is not appropriate here because it will crack as the structure moves slightly. Use a utility knife to cut away any old caulk or sealant, clean the surface, and apply a fresh bead of mold-resistant silicone or latex caulk. Smooth it with a dampened finger or caulk tool, then let it cure per label instructions before getting it wet.
Don't Grout Over Old, Damaged Grout
Keeping Wet Areas in Good Shape Long-Term
Once your grout and sealant are in good condition, a straightforward maintenance habit keeps them that way. Run a quick visual check of all tiled wet areas at least twice a year - spring and fall are good natural prompts. Look for new cracks, dark staining along joint lines, or sealant that is pulling away from either surface it bridges.
Ventilation plays a meaningful supporting role. Bathrooms with poor airflow stay damp longer after showers, which accelerates grout degradation and mold growth. Running an exhaust fan during and for at least 10-15 minutes after showers reduces that moisture load substantially.
One common misconception is that bleach applied to dark grout lines solves the underlying problem. It may lighten surface discoloration temporarily, but if moisture is the cause, grout that has been repeatedly saturated has likely already lost integrity. For more on maintenance myths like this one, see common home maintenance myths that could be costing you money.
Wet areas are just one part of a whole-home moisture management picture. Water that enters from exterior sources - including poorly functioning gutters - can affect interior walls and floors too. Our guide to gutters and how to keep them clear is a useful complement to interior wet area maintenance.
The content on this site is for informational purposes only and is not a substitute for professional advice. Always consult a qualified professional for guidance specific to your situation.