
Setting Up a New Smartphone Without Losing Your Old Data

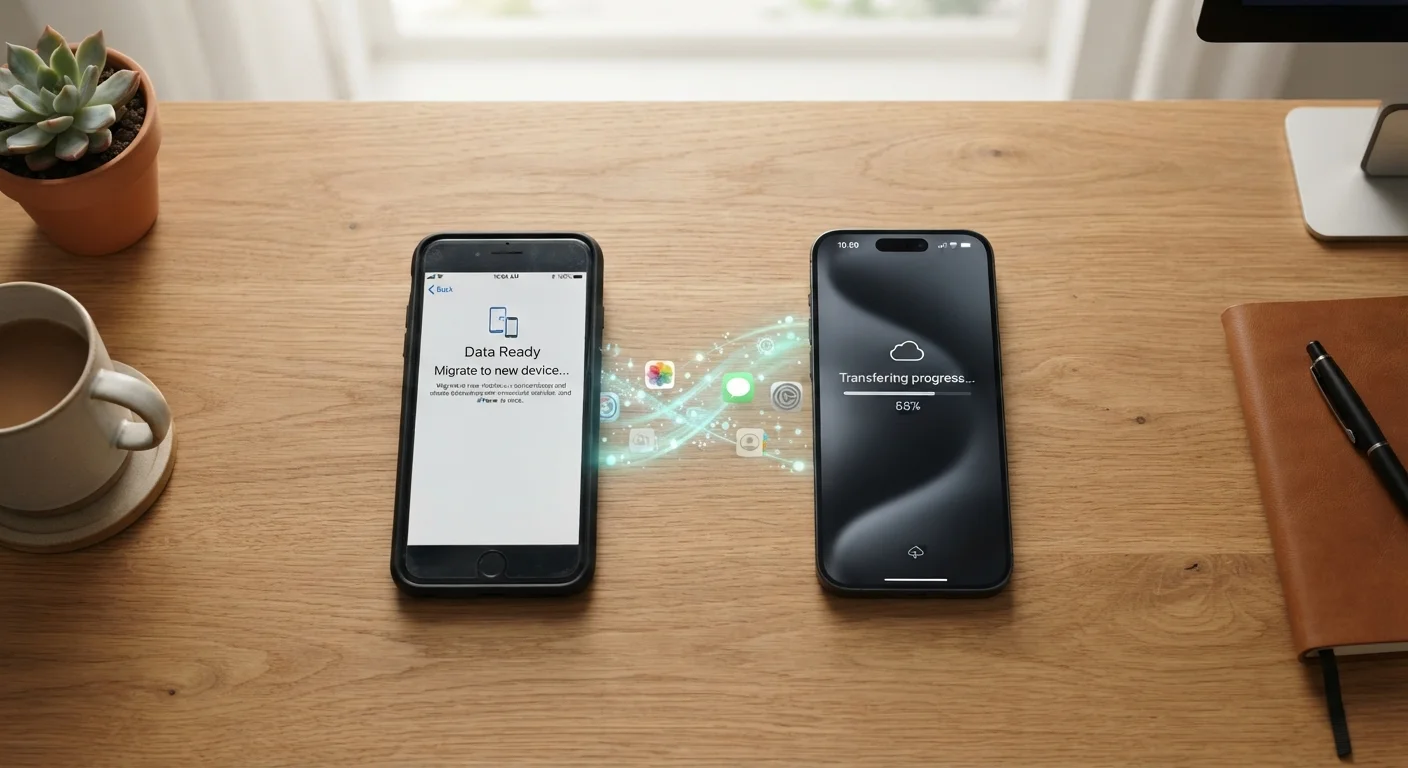
Photo: AscendWit.com | Explore Engaging Blogs. editorial
Key Takeaways
- Back up your old phone before doing anything else - this is the single most important step.
- Both Android and iPhone offer built-in transfer tools that handle contacts, photos, and settings automatically.
- Verify your backup is complete before wiping or selling your old device.
- Some apps and data types require separate steps and won't transfer automatically.
- Carrier-switching at the same time as upgrading adds extra steps - plan accordingly.
Why Data Transfer Still Goes Wrong
Switching phones has improved dramatically - wireless transfer tools, cloud backups, and manufacturer setup wizards handle most of the heavy lifting automatically. Even so, data loss during a phone upgrade remains one of the most common tech frustrations for everyday users. The culprits are usually the same: skipping the backup step, running out of iCloud or Google storage mid-backup, or not accounting for apps that store data locally rather than in the cloud.
The other friction point is crossing ecosystems - moving from Android to iPhone or vice versa. No single tool moves everything perfectly in those cases. Knowing what to expect ahead of time prevents most of the unpleasant surprises. For a broader look at the decisions that go into an upgrade, our smartphone ownership guide covers the full picture.
What you will need
What You'll Need Before You Start
Gathering the right tools and information before you begin saves significant time. The most overlooked item is your login credentials - being locked out of your Apple ID or Google account mid-transfer can stall the entire process. Two-factor authentication codes are another common snag: if your old phone is the device that receives those codes, you need it powered on and nearby throughout setup.
Google One / Google Backup (Android)
Backs up contacts, app data, call history, and settings to your Google account for restoration on a new Android device.
iCloud Backup (iPhone)
Creates a full encrypted backup of your iPhone - including photos, messages, and app data - stored in Apple's cloud.
Move to iOS app (Android to iPhone)
A free Android app from Apple that wirelessly transfers contacts, photos, messages, and calendars directly to a new iPhone.
Quick Switch Adapter / USB-C cable (Android to Android)
Enables a direct wired connection between two Android phones for faster local data transfer during initial setup.
SIM card removal tool (or a small paperclip)
Used to eject the SIM tray so you can move your existing SIM to the new device.
If you're also setting up a new home network or router at the same time, our home router setup guide walks through that process separately - it's worth tackling the network first so your phone transfers run over a stable, fast connection.
Step-by-Step: The Transfer Process
Follow these steps in order. Skipping ahead - especially past the backup step - is where most problems originate. The process typically takes 30 to 90 minutes depending on how much data you have and the speed of your Wi-Fi connection.
Back up your old phone completely
On Android: Go to Settings → System → Backup and confirm Google Backup is turned on, then tap Back up now. On iPhone: Go to Settings → [Your Name] → iCloud → iCloud Backup and tap Back Up Now. Wait until the backup finishes - don't close the screen early. Connect to Wi-Fi and a charger for the fastest, most reliable result.
Charge both phones and gather your credentials
Both devices should be at or above 50% battery - ideally plugged in throughout the process. Locate your Google account or Apple ID email and password before starting. If you use two-factor authentication (a second verification code sent to your old phone), keep the old device nearby and powered on so you can approve sign-ins on the new one.
Start new phone setup and choose your transfer method
Power on your new phone. Most setup wizards will prompt you to either restore from a backup or transfer directly from your old device. Choose the option that matches your situation:
- Android to Android: Select Copy data from old device and follow the on-screen pairing instructions, using either a cable or a QR code scan.
- iPhone to iPhone: Hold your old iPhone near the new one and use Quick Start, or restore from your iCloud backup during setup.
- Android to iPhone: Download the Move to iOS app on your Android and follow the prompts - do this before completing iPhone setup.
- iPhone to Android: Use Google's Switch to Android app on your iPhone to transfer content to your Google account before setup.
Transfer your SIM card or set up eSIM
If your phone uses a physical SIM, use the removal tool to eject the tray from your old device and insert the card into the new one. If your carrier supports eSIM (a built-in digital SIM), you can activate it directly in your new phone's settings - contact your carrier for the activation QR code or follow in-store instructions. Not sure which you have? Check your carrier's website or the phone's documentation.
If you're also switching carriers during this upgrade, complete that process separately first. See our carrier-switching checklist to avoid compatibility issues.
Verify what transferred - and what didn't
After setup completes, check these areas on your new phone:
- Contacts: Open the phone or contacts app and confirm names and numbers are present.
- Photos: Open your photo gallery and scroll through to spot-check.
- Apps: Most apps reinstall automatically, but you may need to log back into each one individually.
- Text messages: SMS history transfers on iPhone via iCloud; on Android, results vary by manufacturer and app. Third-party SMS backup apps can help if messages are missing.
- Authenticator apps: Apps like Google Authenticator or Authy store two-factor codes locally - transfer these before wiping your old phone.
Securely erase your old device
Only after confirming everything is on your new phone should you erase the old one. On Android: Settings → General Management → Reset → Factory Data Reset. On iPhone: Settings → General → Transfer or Reset iPhone → Erase All Content and Settings. This wipe removes your personal data so it can't be recovered if you sell or recycle the device.
Check Your Cloud Storage Before You Start
If this is your first smartphone or you're helping someone navigate their first device, our first-time smartphone guide covers the basics of getting around your new phone after setup is complete.
Common Issues and How to Handle Them
Even when you follow every step, a few situations come up regularly:
- Not enough cloud storage: Free iCloud accounts include 5 GB; free Google accounts include 15 GB. If your backup is larger, you'll need to temporarily purchase more storage or selectively back up only what matters most before transferring.
- Apps that won't log in: Some apps tie licenses to a specific device or require re-verification. Check each app's help page if you can't get back in.
- Missing texts after Android transfer: Third-party SMS backup apps - search your app store for SMS backup utilities - can export and reimport message threads in standard formats.
- Transfer stuck or frozen: Keep both devices plugged in and on Wi-Fi. If it stalls past 15 minutes with no progress, restart both phones and try again.
Don't Wipe Your Old Phone Too Soon
Avoid common upgrade mistakes by reviewing our upgrade pitfalls guide before you commit to a new device.
The content on this site is for informational purposes only and is not a substitute for professional advice. Always consult a qualified professional for guidance specific to your situation.