
Setting Up a New Home Router Without Calling Tech Support

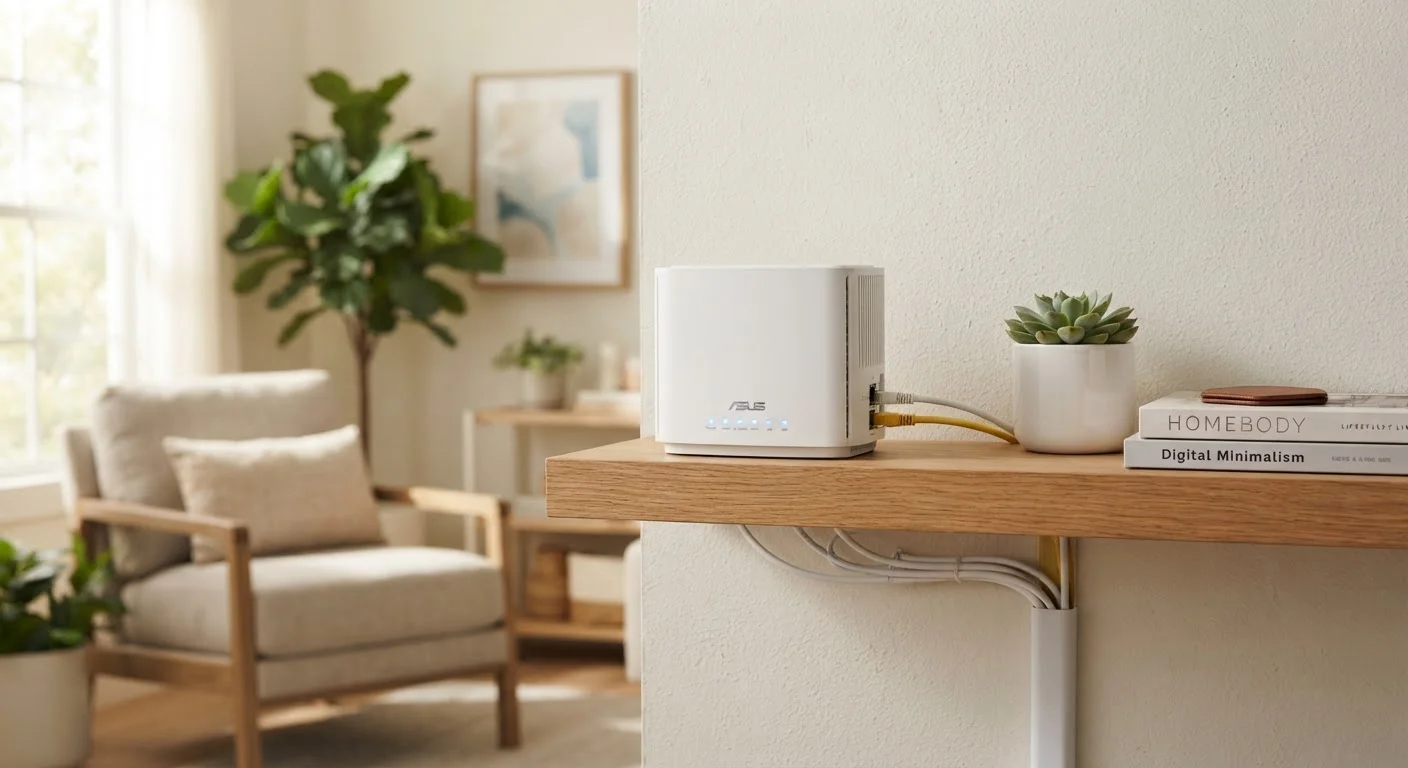
Photo: AscendWit.com | Explore Engaging Blogs. editorial
Key Takeaways
- Router placement in a central, open location dramatically improves Wi-Fi signal throughout your home.
- Changing the default network name and password is the single most important security step after setup.
- Most routers include a companion app that walks you through configuration without needing a computer.
- Enabling WPA3 or WPA2 encryption keeps unauthorized devices off your network.
- A router restart and firmware update should be among your first actions after initial setup.
What You'll Need Before You Start
Setting up a router is straightforward once you have everything in place. Before you begin, make sure you have an active internet plan - if you haven't chosen one yet, reviewing what to check before signing up for an internet plan can help you avoid common surprises. You'll also need access to your modem and its connecting cable.
What you will need
Home Router
The central device that distributes your internet connection wirelessly to all devices in your home.
Ethernet (network) cable
Connects your router directly to the modem or internet wall port provided by your ISP.
Modem (if separate)
Translates the incoming internet signal from your ISP into a format the router can use.
Smartphone or computer
Used to access the router's setup app or admin panel to configure settings.
Router's companion app
Many routers offer a manufacturer app that simplifies setup with guided prompts instead of manual configuration.
Step-by-Step Router Setup
Follow these steps in order. Each builds on the last, so avoid skipping ahead - particularly the security steps, which are just as important as getting online.
Name Your Network Something Neutral
Choose the right location for your router
Place your router in a central location in your home, elevated off the floor - a shelf or countertop works well. Avoid tucking it inside a cabinet, behind a TV, or in a corner. Walls, especially thick concrete or brick ones, weaken the signal considerably. The goal is to minimize obstructions between the router and the rooms where you use the internet most.
Connect the router to your modem
Plug one end of the included Ethernet cable into the WAN port on your router - this port is usually a different color (often blue or yellow) and labeled 'WAN' or 'Internet.' Plug the other end into your modem. Then plug the router's power adapter into an outlet and power it on. Wait 60-90 seconds for the router to fully boot before moving on.
Connect to the router's default network
On your smartphone or computer, look for a Wi-Fi network matching the name printed on your router's label (often on the bottom). Connect to it using the default password also printed on that label. This temporary connection lets you access the setup interface.
Access the router's admin panel
Open a web browser and type the router's admin address into the address bar. Common addresses are 192.168.1.1 or 192.168.0.1 - the correct one is listed in your router's manual or on the device label. Log in using the default admin username and password printed on the router. You'll change this password in the next step.
Set a new admin password and Wi-Fi credentials
First, change the admin password - this controls access to the router's settings panel itself. Use a strong, unique password and store it somewhere safe. Next, set your Wi-Fi network name (SSID) and a new Wi-Fi password. Choose a password that is at least 12 characters and combines letters, numbers, and symbols. Apply changes and allow the router to restart.
[important_callout]Enable WPA2 or WPA3 encryption
In your router's wireless security settings, confirm that the encryption method is set to WPA2 or WPA3 (WPA3 is newer and more secure). Avoid WEP or WPA (without a version number) - these older protocols are considered insecure. Most modern routers default to WPA2 or WPA3, but it's worth verifying manually.
Update the router's firmware
Look for a 'Firmware Update' or 'Software Update' option in the admin panel - often under a section labeled 'Advanced,' 'Administration,' or 'Maintenance.' If an update is available, install it and allow the router to reboot. This closes known security gaps and can improve performance and stability.
Connect your devices and test the connection
Reconnect your devices using your new Wi-Fi network name and password. Open a browser or app to confirm internet access. Walk to different rooms to get a sense of signal strength. If you notice weak spots, consider reading about common causes of Wi-Fi dead zones - small placement adjustments often make a noticeable difference.
Don't Skip the Firmware Update
After Setup: A Few Things Worth Knowing
Once your network is running, a few habits help keep it secure and performing well. Restart your router occasionally - once a month is a reasonable baseline - to clear temporary issues and apply any pending updates. If someone who previously had your Wi-Fi password no longer lives with you or you want to remove their access, changing the Wi-Fi password and reconnecting your own devices takes only a few minutes through the admin panel.
If your household has a mix of devices - smart TVs, game consoles, computers, and phones - many routers let you create a separate guest network. This gives visitors internet access without putting them on the same network as your personal devices, which is a simple but effective security measure.
For households that are also getting comfortable with other connected devices, our everyday gadgets guides cover a range of common consumer tech in plain language.
The content on this site is for informational purposes only and is not a substitute for professional advice. Always consult a qualified professional for guidance specific to your situation.